Register for a campus visit
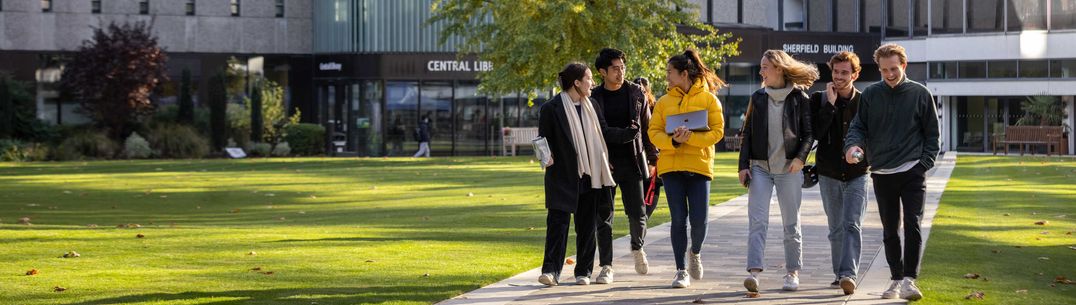
South Kensington Campus
South Kensington is a cultural hub, home to three world-famous museums and our main university campus. Find out more about our campus and what life is like at the College by attending one of our campus tours or head out on a self-guided tour.
Explore the South Kensington Campus at your leisure with our 'Welcome to Imperial' app that is available to download for free from either the Apple or Google Play Store.
One-to-one campus visits
We offer one-to-one information appointments for counsellors with a member of our Student Recruitment team if you would prefer a more personal visit. This is a great opportunity to ask any questions you may have to support you in advising your students – from the application process and what our courses are like to how to apply for accommodation.
Contact the UK Recruitment team or International Recruitment team to book an appointment.
Contact the UK Recruitment team
Contact the International Recruitment team
School groups
Discover more about what it's like to study at Imperial with a school visit and tour around our South Kensington Campus.
- Tour with a current student
- Explore the South Kensington location
- Watch a presentation from a member of the Student Recruitment Team
School visits are welcome to students both in the UK and internationally, however these will be conducted in English and we are unable to provide translators.
For more information and how to book, please take a look at our school groups page.
Requesting materials and visits
You are more than welcome to get in touch with our UK and International Recruitment teams to:
- Request digital or physical materials
- Request visits to your school or location
- Watch a webinar from our Student Recruitment team
Our teams are more than happy to support you and will respond to your enquiry as soon as they can. Unfortunately, we have limited capacity to travel so please bear this in mind when enquiring.
